


How to use Community Tags
On this page
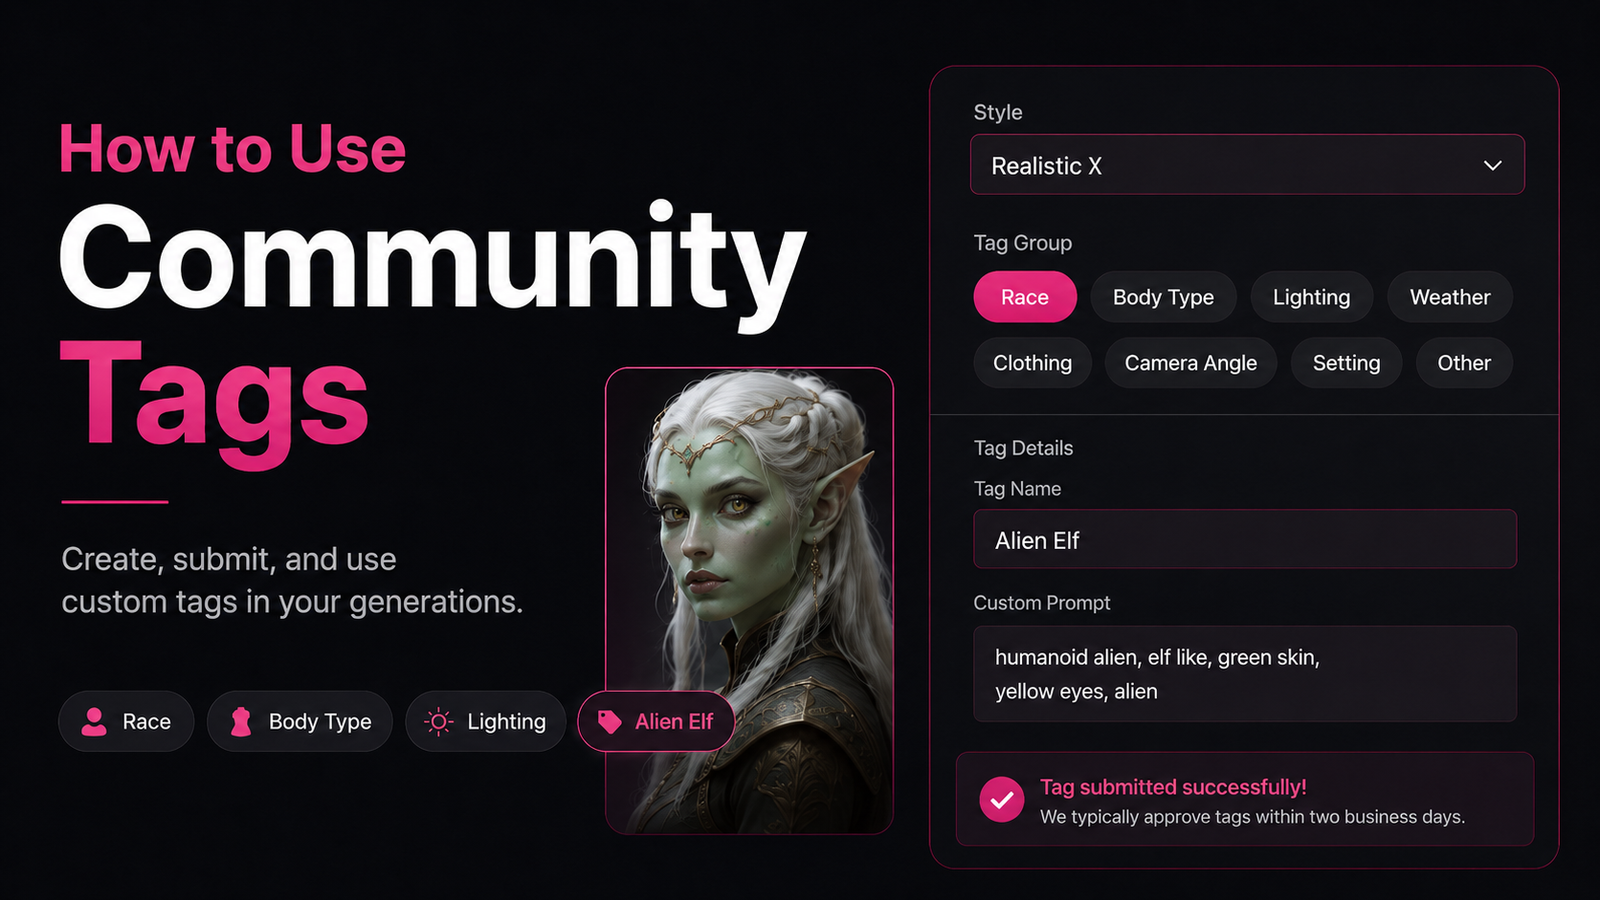
Community Tags let you create and submit your own custom Tags for use in generations.
Tags are preset details that help guide the generator. Instead of writing the same detail in every Prompt, you can select a Tag to add that detail more quickly.
Before creating a Community Tag, review these articles to make sure your Tag follows our standards and policies:
- Prompting Standards & Tag Groups
- Community Guidelines
- Prohibited Content
- How to Find Furry or Anthro Tags on CreateFurry
What You Can Do With Community Tags
You can use Community Tags to:
- Create new Tags for supported Styles
- Submit Tags for review
- Add approved Tags to a Style
- Use approved Tags in future generations
- Streamline complex creations
Note: Community Tags must be reviewed before they can be used.
How to Create a Community Tag
Head to the Create Page
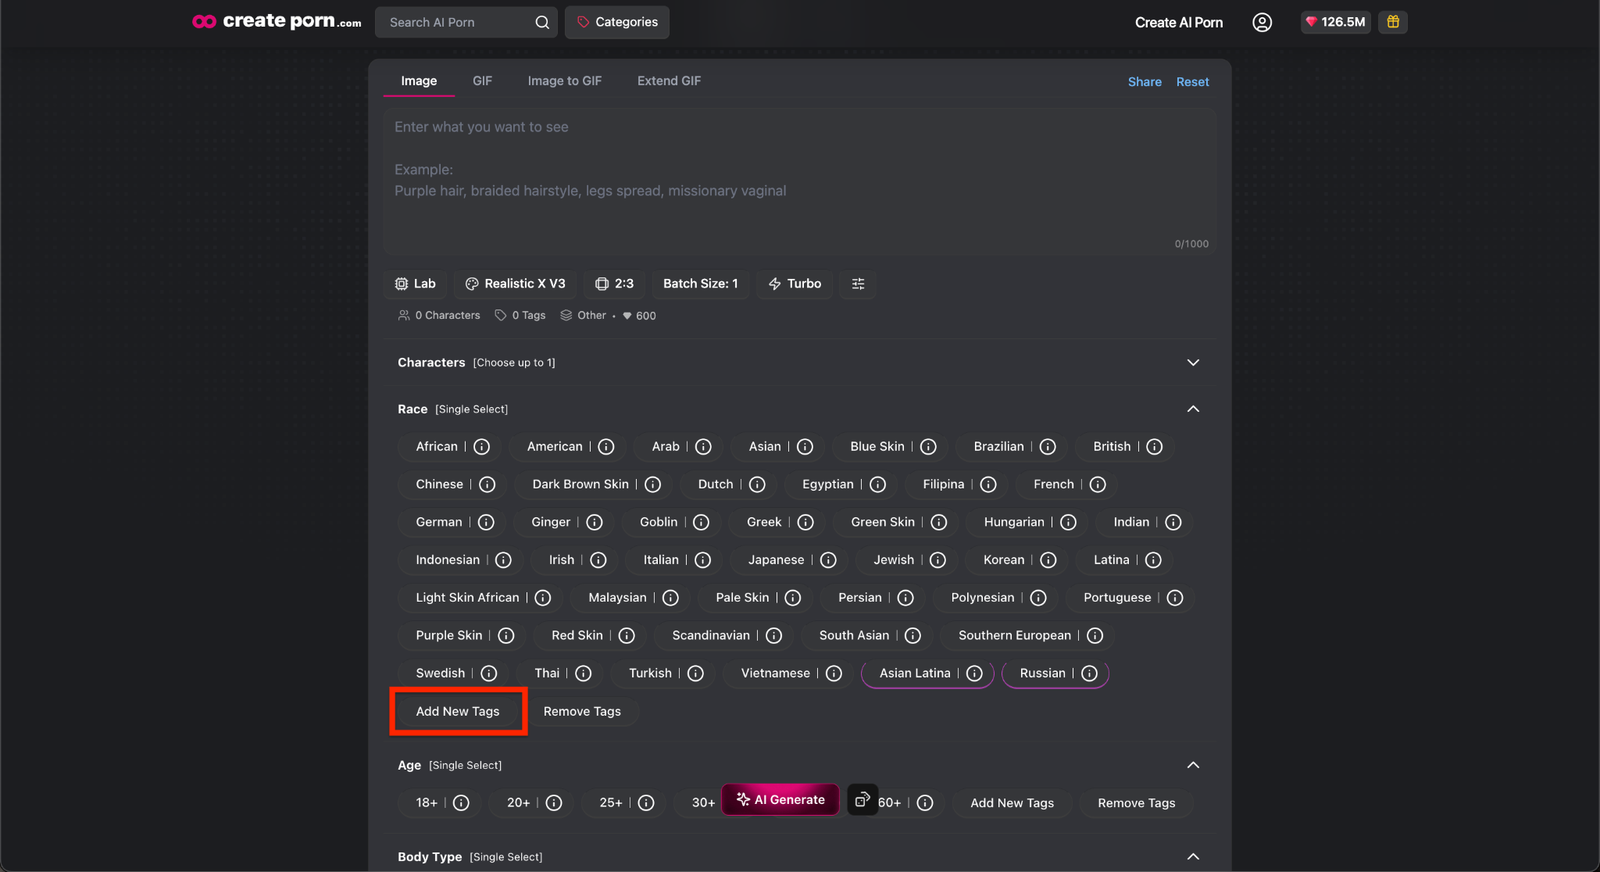
- Open the Create page.
- Click Add New Tags to navigate to the Tags page.
Open the Tags Page
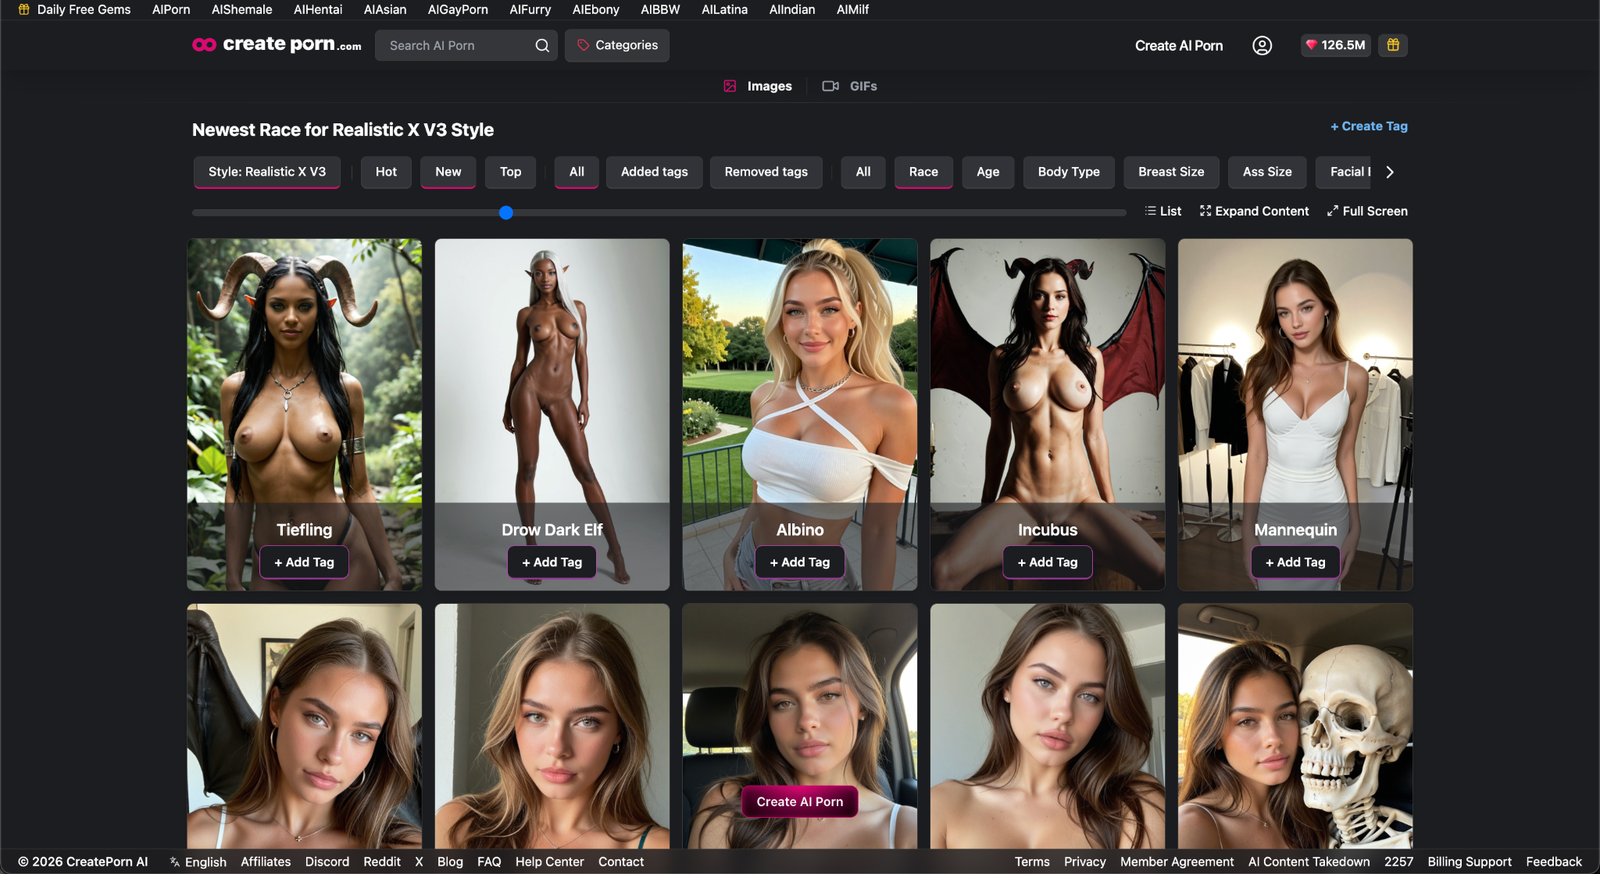
Click the Create Tag button on the top right corner of the screen or browse Community Tags that other users have created.
Begin Tag Creation
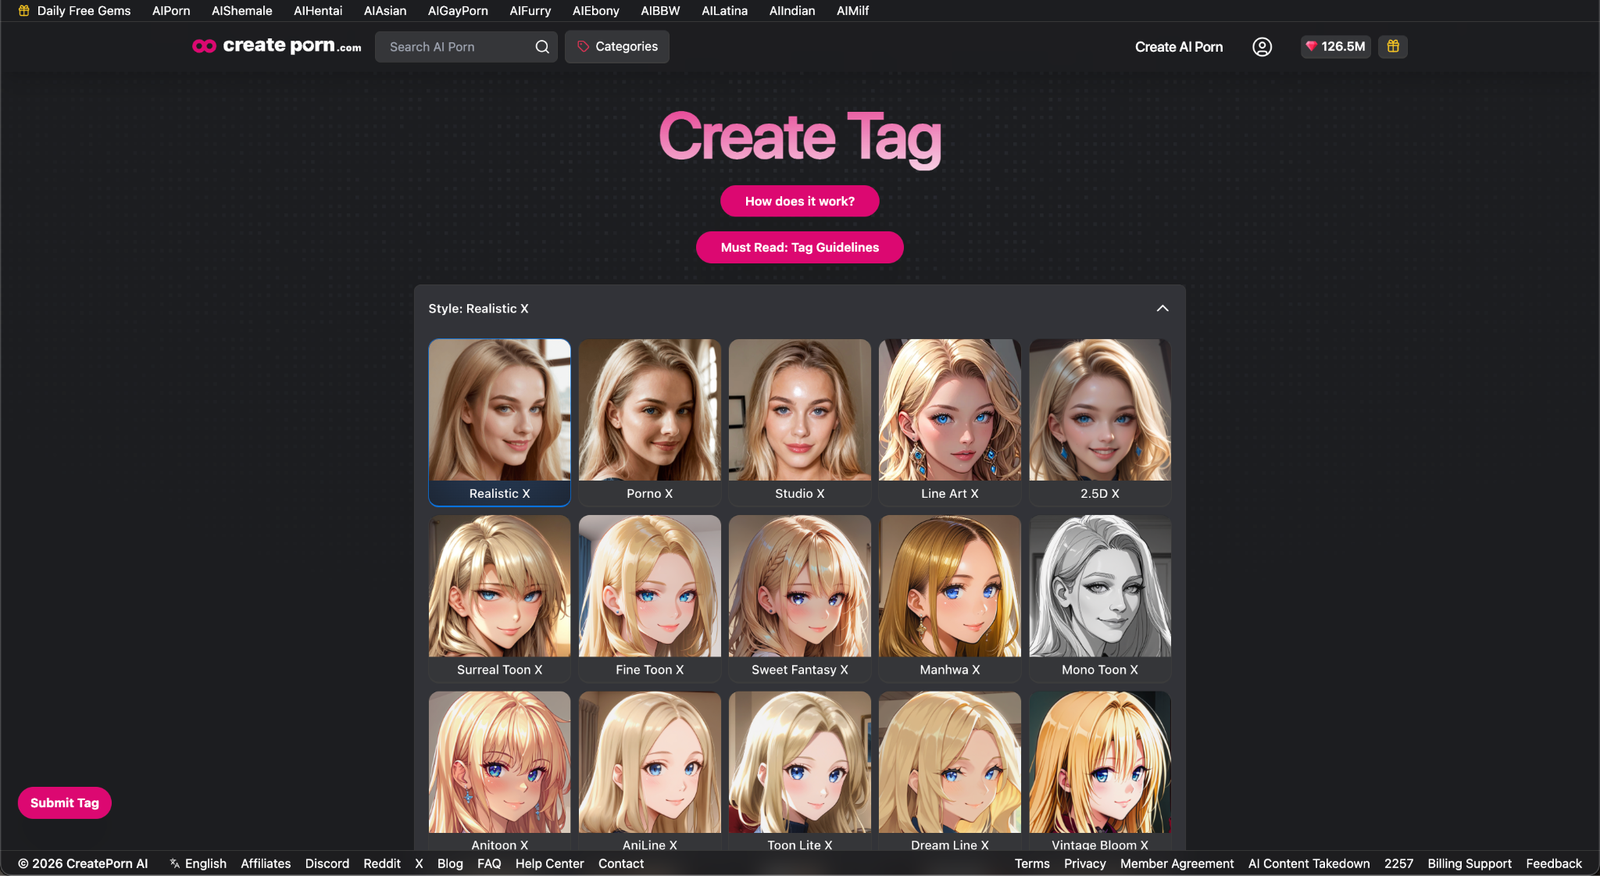
Select your preferred Style.
Example: Realistic X or Anime
Note: All X and XL Styles share the same Tag Groups. This means choosing any X or XL Style will add your Tag to all shared Tag Groups.
The only exceptions are CreateGayPorn and CreateShemale’s Scene and Modifier Tag Groups. These Tag Groups are unique to those sites.
Select & Input Your Prompt’s Settings
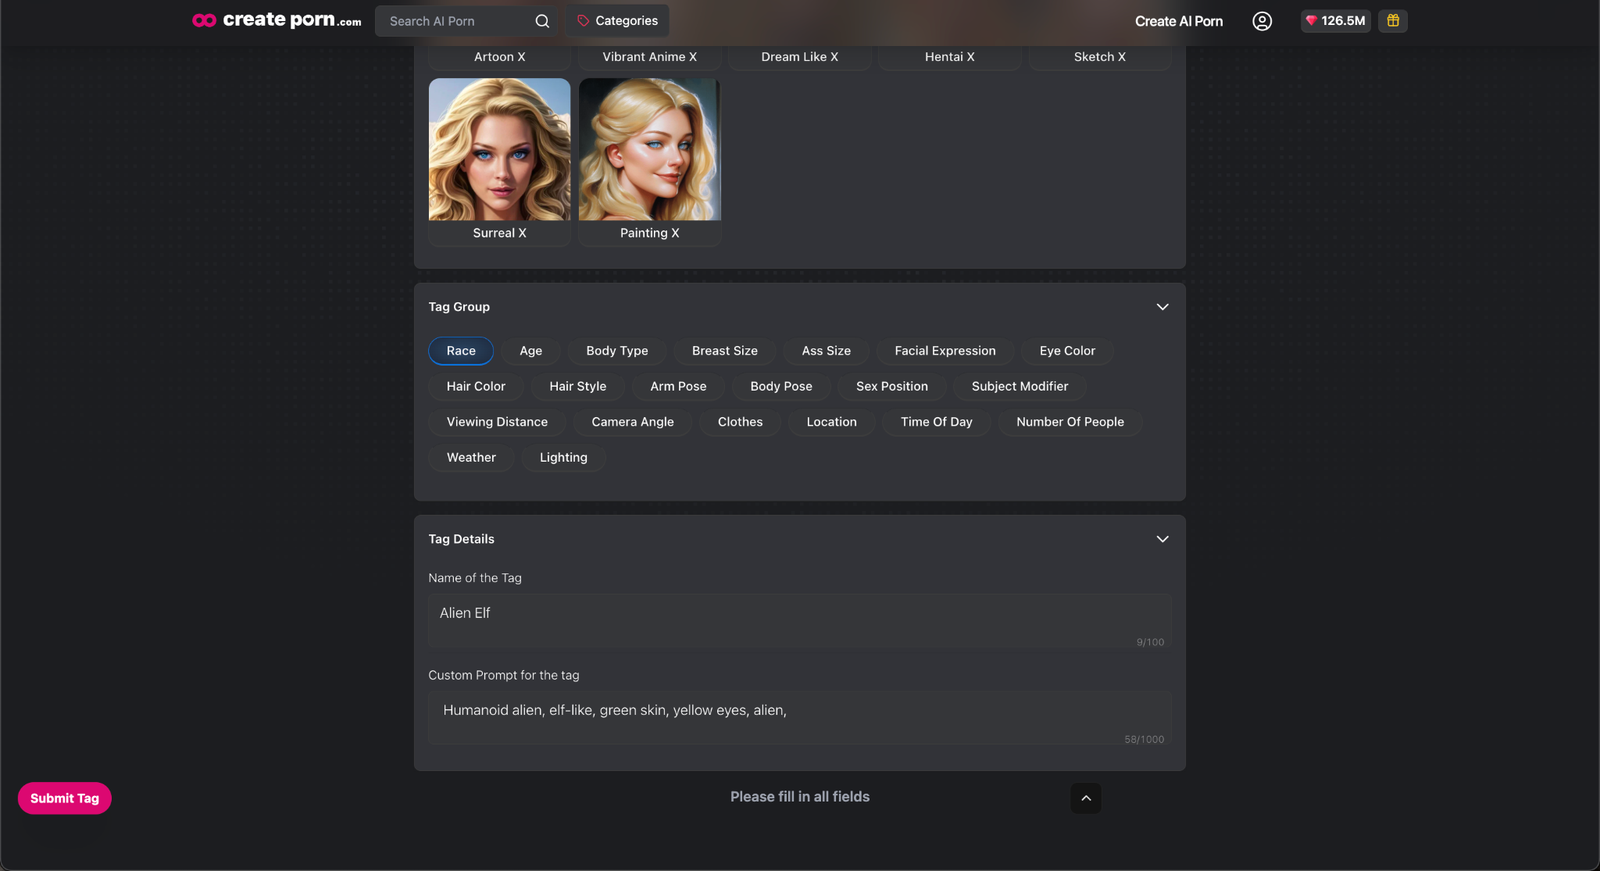
Choose your preferred Tag Group.
Example: Race or Body Type
Enter the Tag Name.
Example: Alien Elf
Enter the Prompt for the Tag.
Example: Humanoid Alien, Elf-like, green skin, yellow eyes, Alien
Make sure your prompt follows the prompting requirements listed in the Rules & Disqualification Policy.
Review Details and Submit Tag
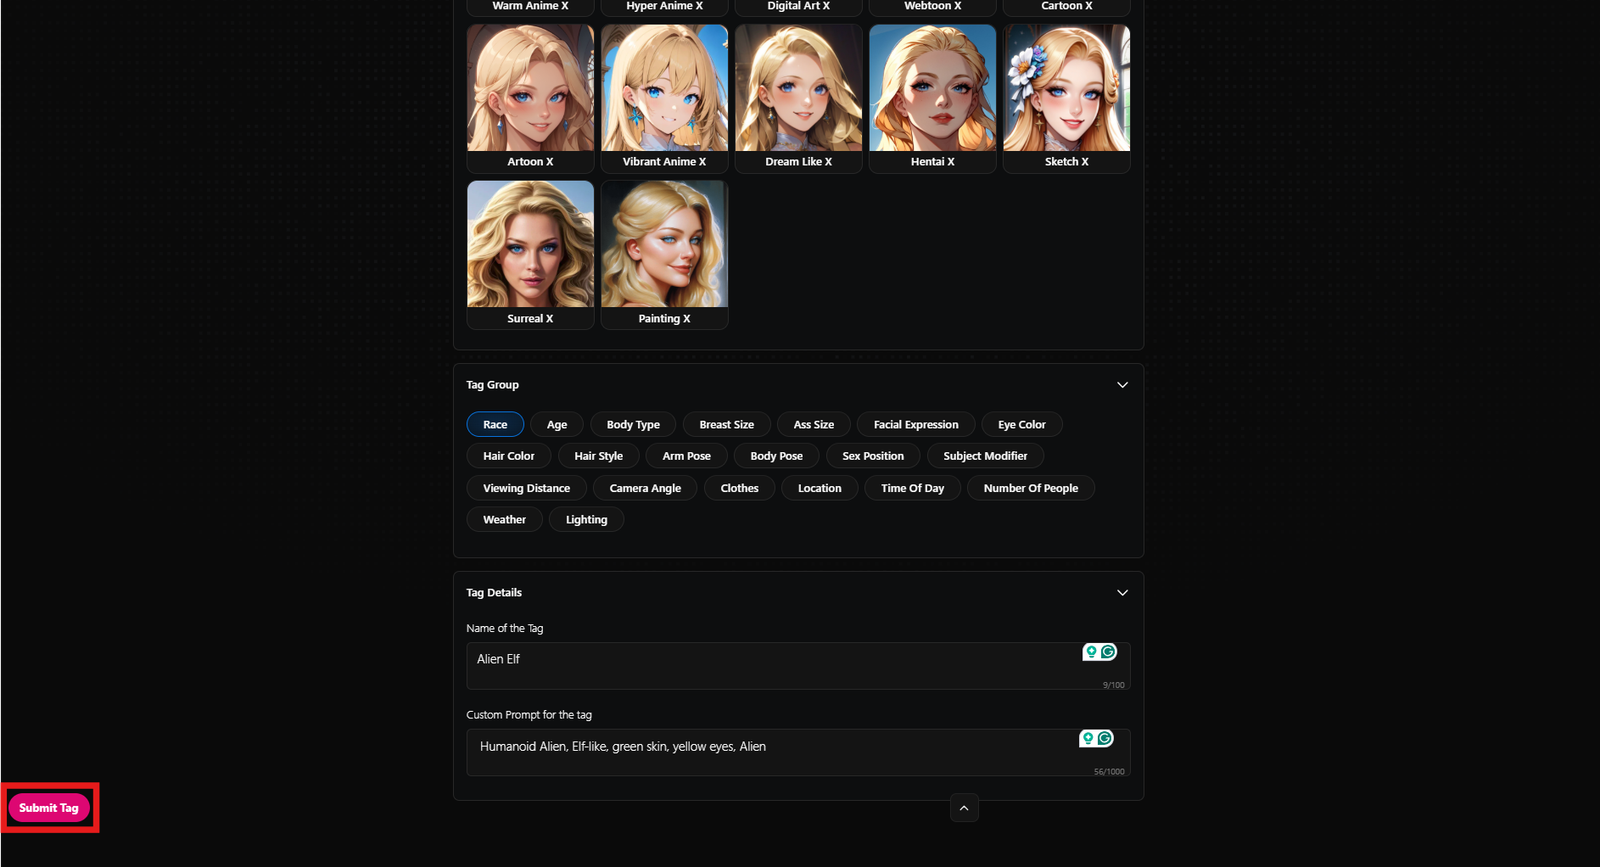
After you submit your Tag, it will be sent for review.
Note: Submitted Tags are typically reviewed and approved (If deemed to be compliant according to our guidelines) within two business days.
How to Add and Use Your Approved Tag
After your Tag is approved, return to the Tags page.
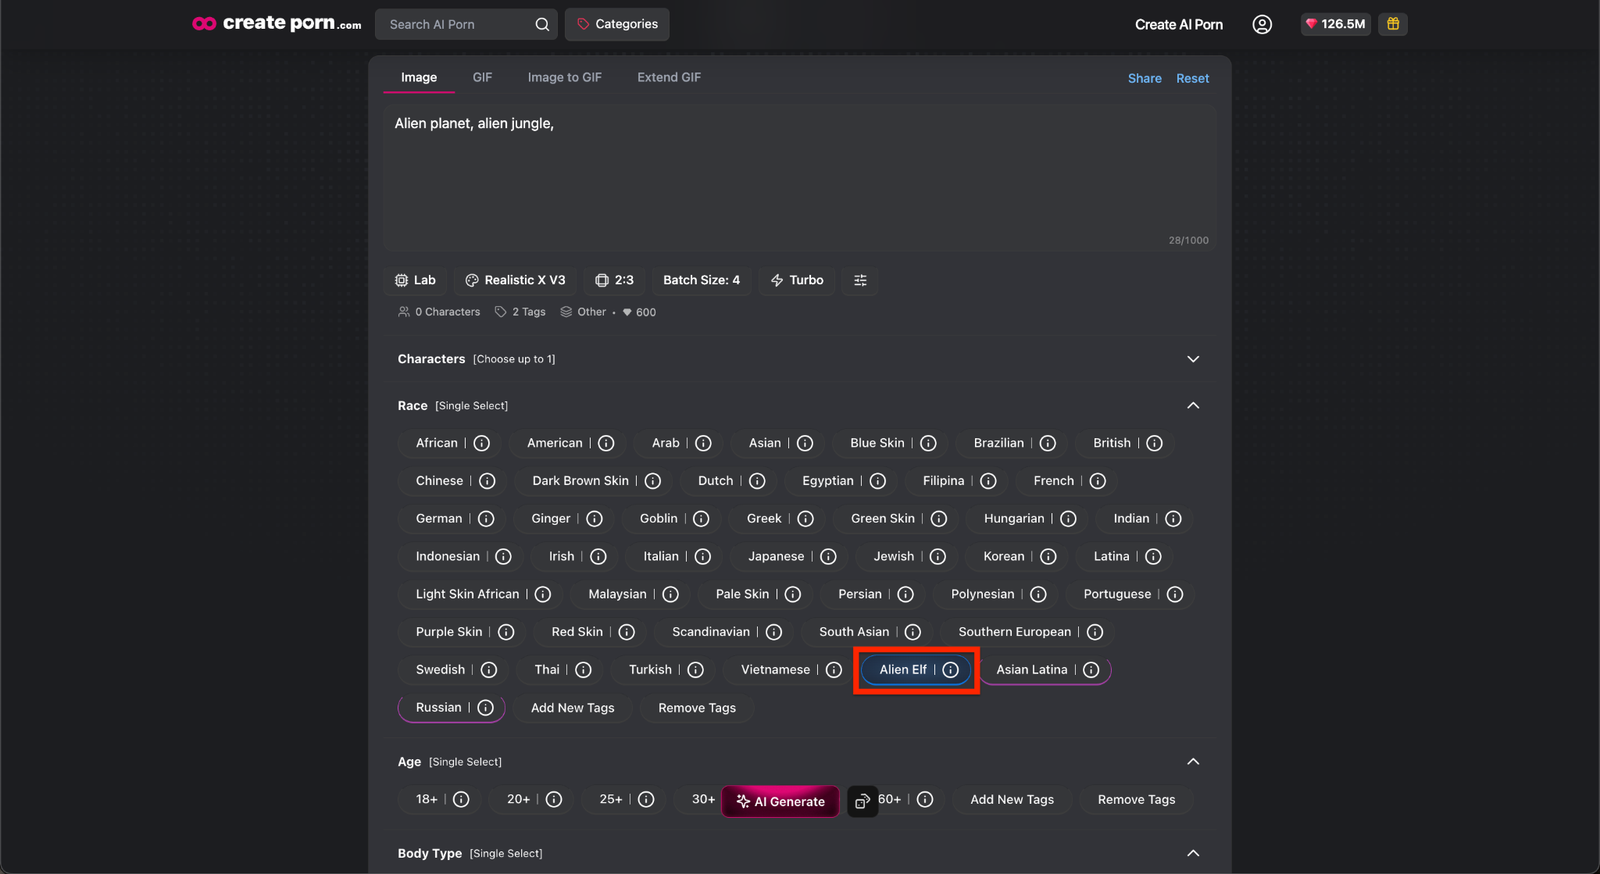
- Open the Tags page.
- Select the same Style you used when submitting the Tag.
- Navigate to the same Tag Group.
- Find the Tag you created.
- Click the Tag to use in your generation.
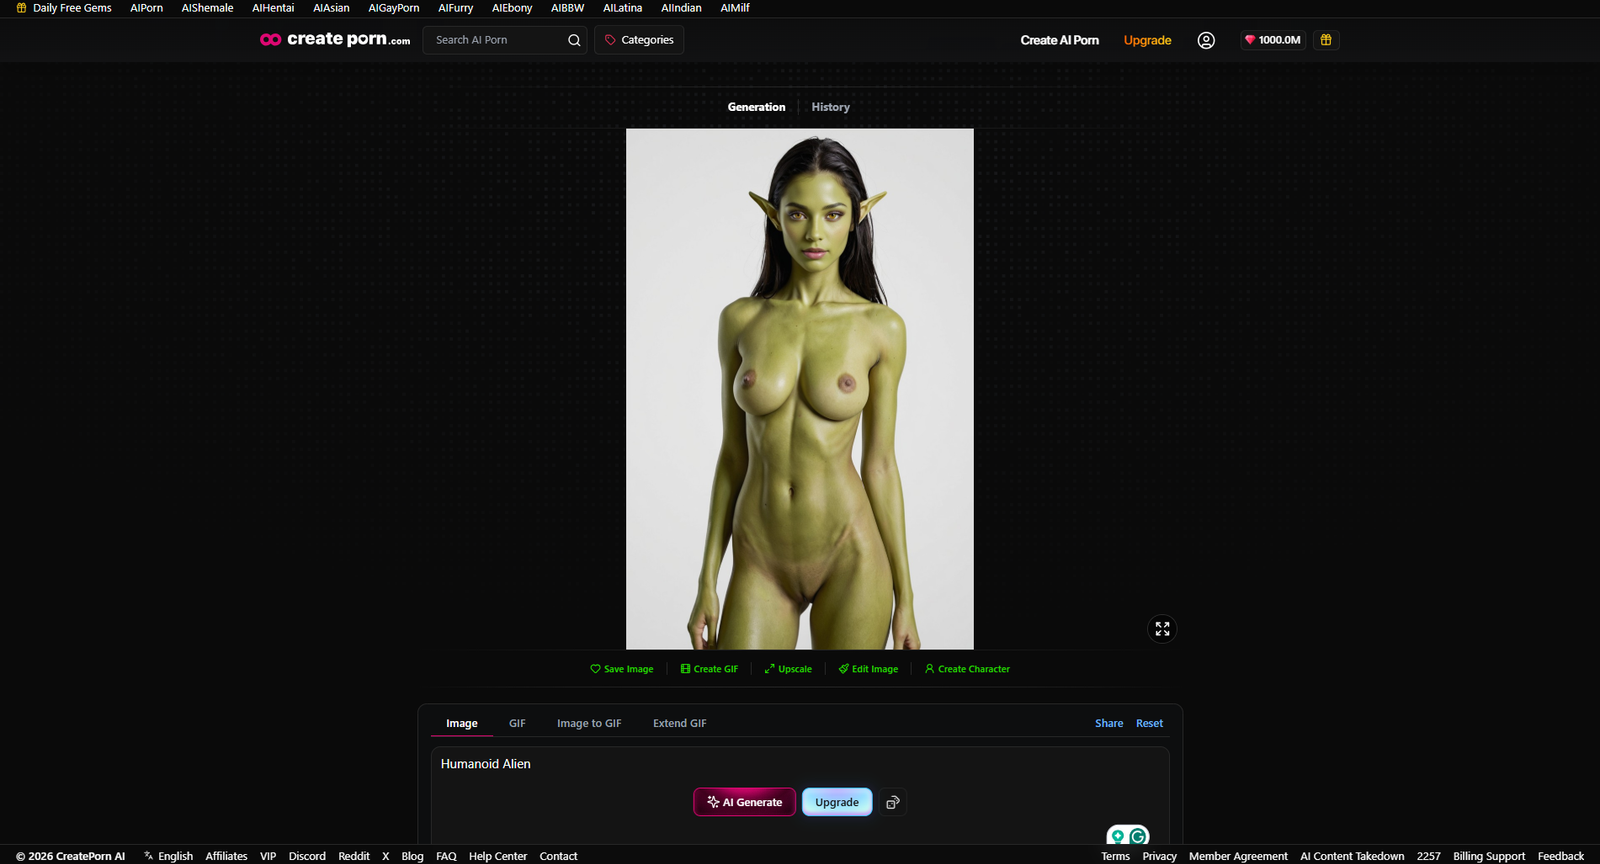
After adding it, return to the creation page for that Style. Your new Tag will appear under the Tag Group you selected.
You can now use the custom Tag in your generations.
Note: We are working to improve this process so that approved Tags are easier to find and add in the future.
How to Identify Community Tags
Community Tags can be identified by their purple border. Tags without a purple border are system-built Tags.
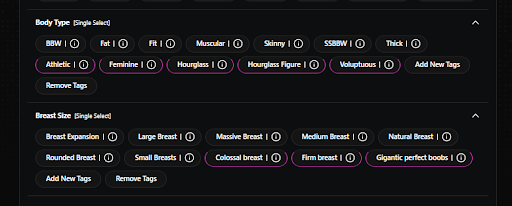
The purple border only identifies the Tag as a Community Tag. It does not mean the Tag is selected or that it will automatically be included in your generation.
To use a Community Tag, click and select the Tag before generating.
What Happens After You Submit a Tag
Review our Community Guidelines before you create a tag.
If your Tag follows our guidelines, it will be approved and added within two business days.
If your Tag does not follow our guidelines, the submission will be declined.
Tips
Use clear Tag names that describe the detail you want to add.
Keep Tag Prompts focused on one idea.
Choose the most accurate Tag Group for your Tag.
Review the policy articles before submitting your Tag.
Avoid submitting Tags that include prohibited content or unclear prompt instructions.
Need Help?
If you cannot find your approved Tag, check that you selected the correct Style and Tag Group.
If your Tag was declined, review the Prompting Standards & Tag Groups, Community Guidelines, and Prohibited Content articles before submitting a revised version.
If your Tag still does not appear after approval, contact Support for help.