


Magic Edit [PLUS] & Reference to Image Guide
On this page
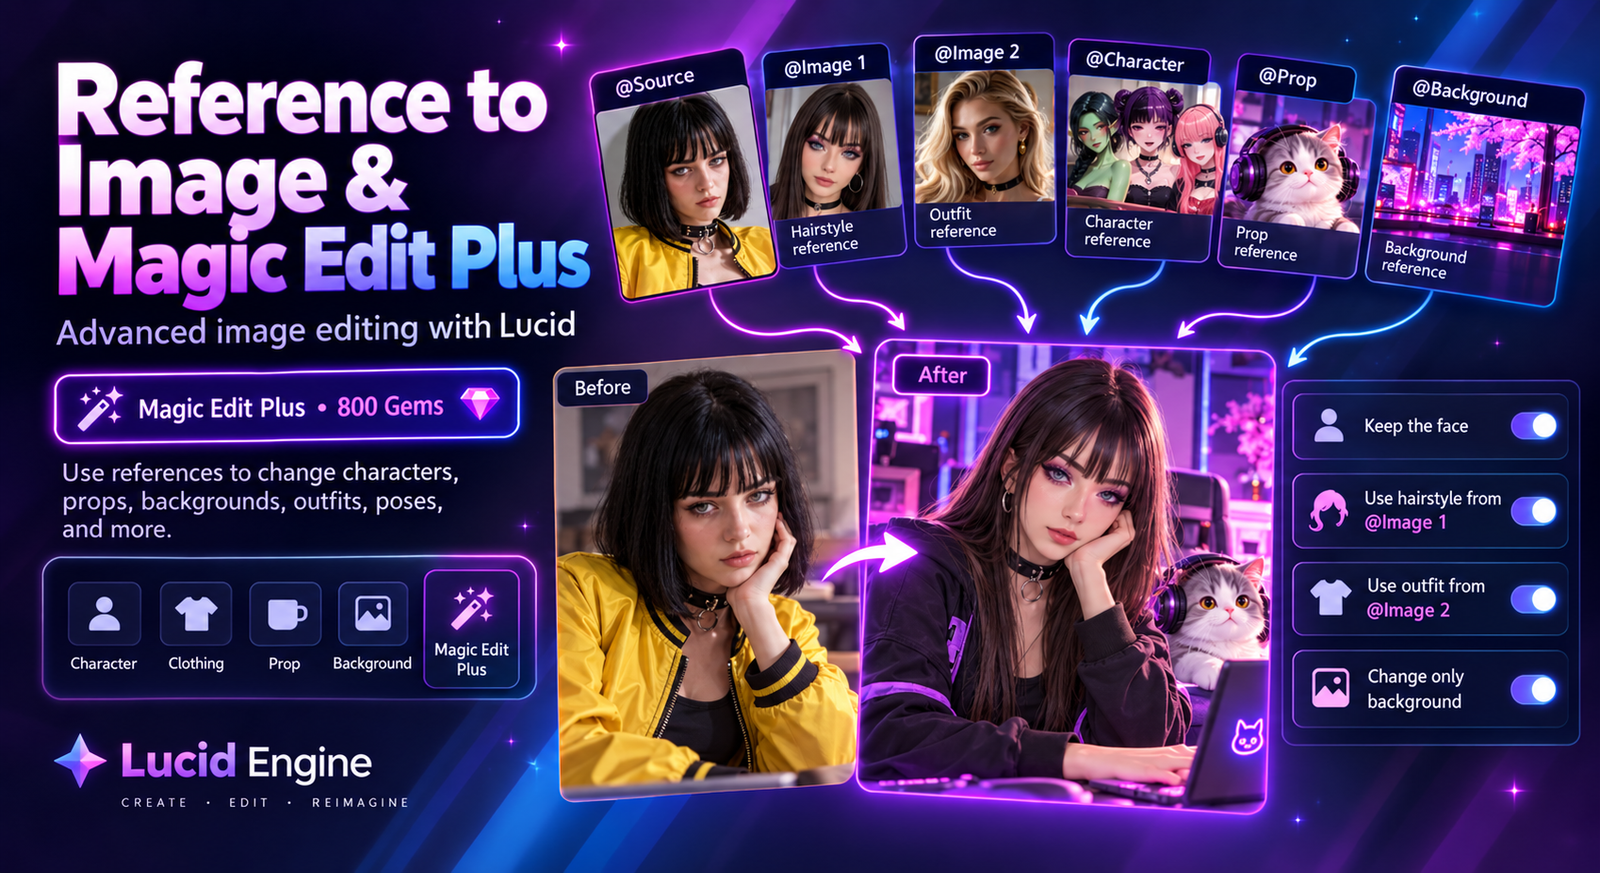
Reference to Image and Magic Edit Plus expand image editing with the Lucid Engine, giving you more control over Characters, clothing, Props, Backgrounds, poses, and other visual details.
Magic Edit Plus is designed for more advanced edits than standard Magic Edit, while Reference to Image lets you combine visual elements from multiple saved References in a single generation.
Note: Magic Edit Plus is not currently available from the Creations page. Access will expand as we continue rolling out the feature.
Before You Start
Both workflows use Natural Language prompts.
For the best results, clearly explain:
- What should stay the same
- What should change
- Which Reference should be used
- How the new element should fit into the image
See also:
- Natural Language Prompting Guide for Lucid & Studio Engines
- Magic Edit [MINI]: Edit Your Images with Simple Instructions
- Reference-to-Video Prompting Guide — the same general @ Reference principles & flow apply
Magic Edit Plus
Magic Edit Plus uses Lucid for more advanced image editing and stronger instruction following.
It is useful when you want to make larger or more controlled changes while preserving important parts of the original image.
Cost: 800 Gems per generation
How to Use Magic Edit Plus
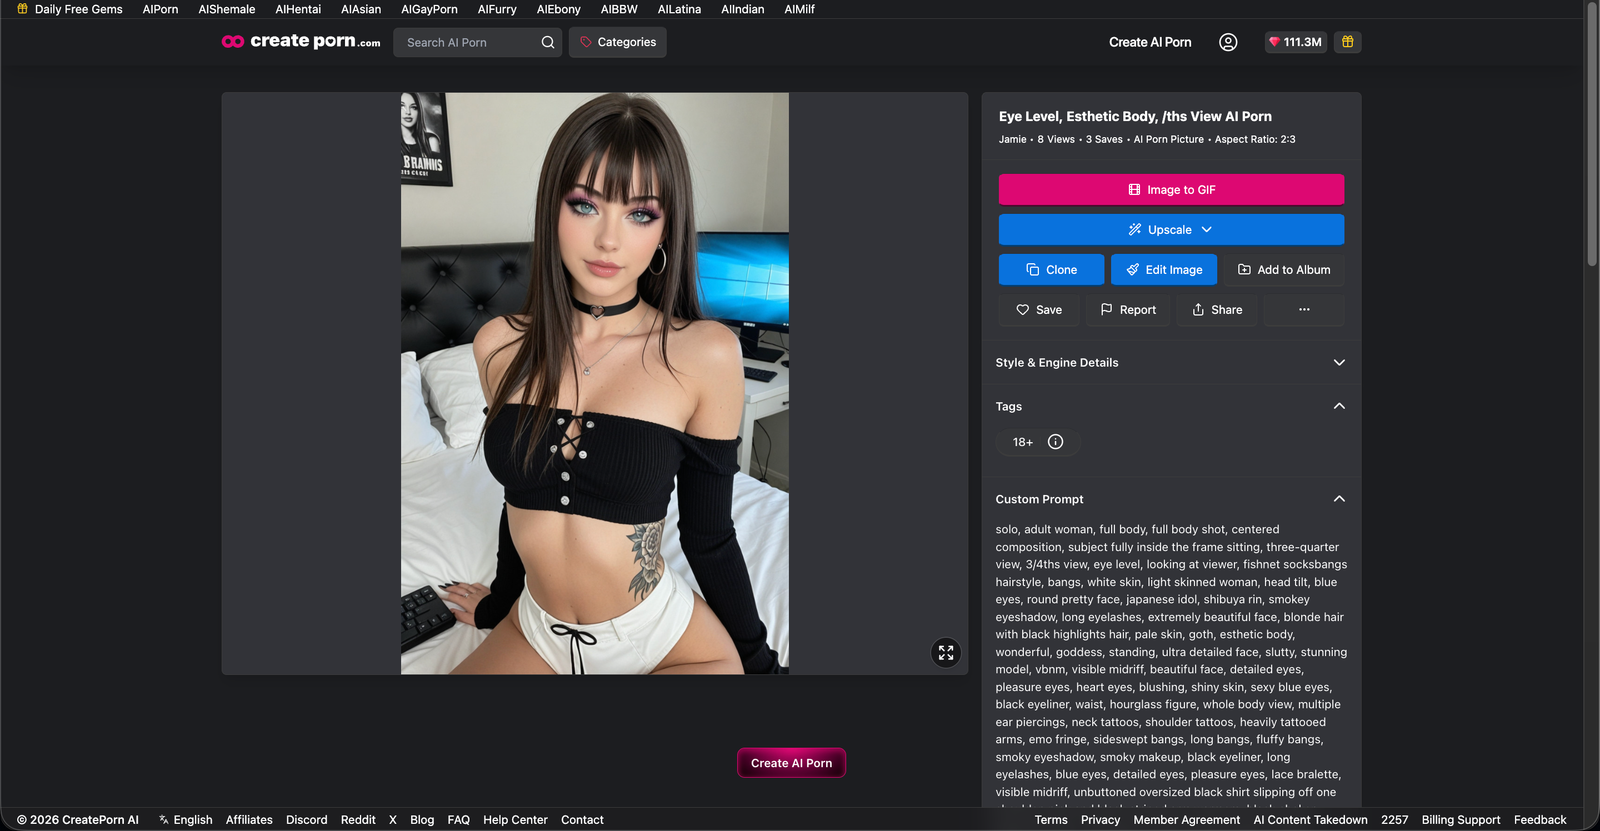
- Open the image you want to edit.
- Select Edit Plus.
- Enter your edit instructions.
- Press Edit Image.
- Review the result.
- Save the image if you are satisfied, or adjust the prompt and try again.
Write Clear Magic Edit Plus Instructions
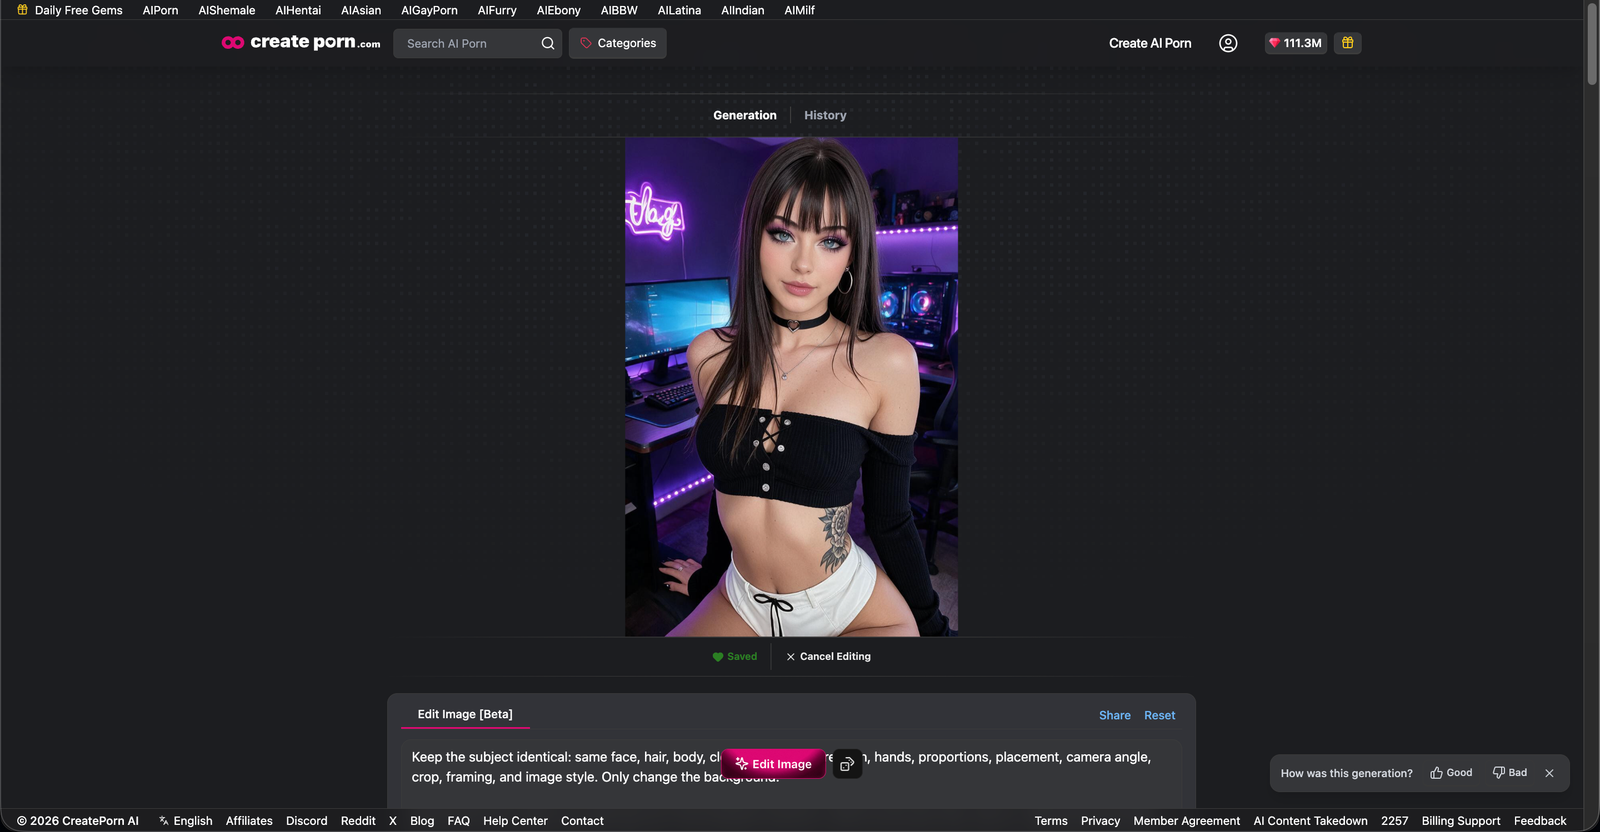
A good edit prompt should first explain what must remain unchanged, then describe the requested change.
A useful structure is:
Keep [PRESERVED ELEMENTS] unchanged. Change only [TARGET]. [DESCRIBE NEW RESULT].
Example:
Keep the subject identical: same face, hair, body, clothing, pose, expression, hands, proportions, placement, camera angle, crop, framing, and image style. Only change the background.
Replace the room with a cozy dark-purple Twitch streamer bedroom. Behind and around her, add a large L-shaped gaming desk with dual monitors, a PC tower with soft RGB lighting, a mechanical keyboard, a large desk mat, and a gaming chair. Add a purple neon sign on the wall, purple LED strips along the desk, shelves, and room, and shelves with gaming accessories. Keep the room lived-in and atmospheric, not sci-fi.
Use layered purple, violet, and magenta light from the neon, LEDs, and monitors, with soft falloff and reflections. Keep the subject brighter and sharper while the background remains darker, moodier, and slightly softer.
Reference to Image
Reference to Image lets you use saved images, Characters, Props, and Backgrounds as visual References when editing with Lucid.
You can use References to:
- Replace Characters
- Add Props
- Change Backgrounds
- Change clothing
- Copy hairstyles
- Copy hair colors
- Transfer poses
- Use facial features from another Reference
- Combine elements from several images
Add References
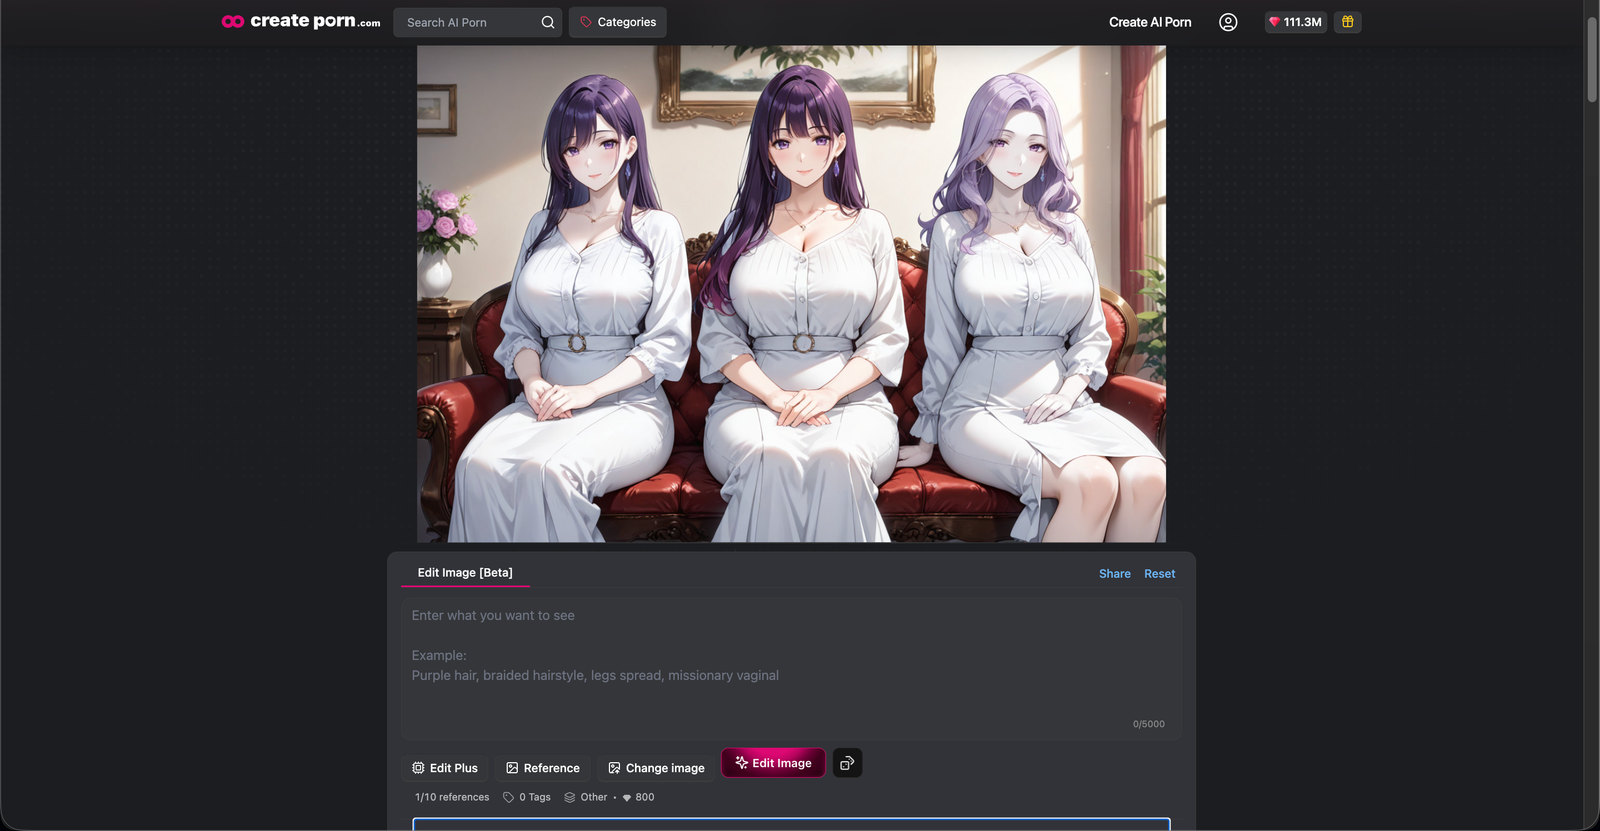
- Open the image you want to edit.
- Press Reference.
- Select the References you want to use.
- Add them to the edit.
- Write instructions explaining how each Reference should be used.
- Press Edit Image.
- Review the result and save or regenerate as needed.
Note: If you want to use multiple saved image References, first select them through the Multi-Reference modal. Only References added there will be available to select with @ in your prompt.
Use @ to Reference Assets
Use @ inside the prompt to tell Lucid exactly which Source, Character, Prop, Background, or image you mean.
Available Reference types can include:
- @Source
- @Image 1
- @Image 2
- @Character Name
- @Prop Name
- @Background Name
A useful structure is:
Use the [ELEMENT] from @[REFERENCE] and apply it to [TARGET].
Example:
Keep the woman from @Source. Use the hairstyle from @Image 1 and the outfit from @Image 2.
Reference to Image Example
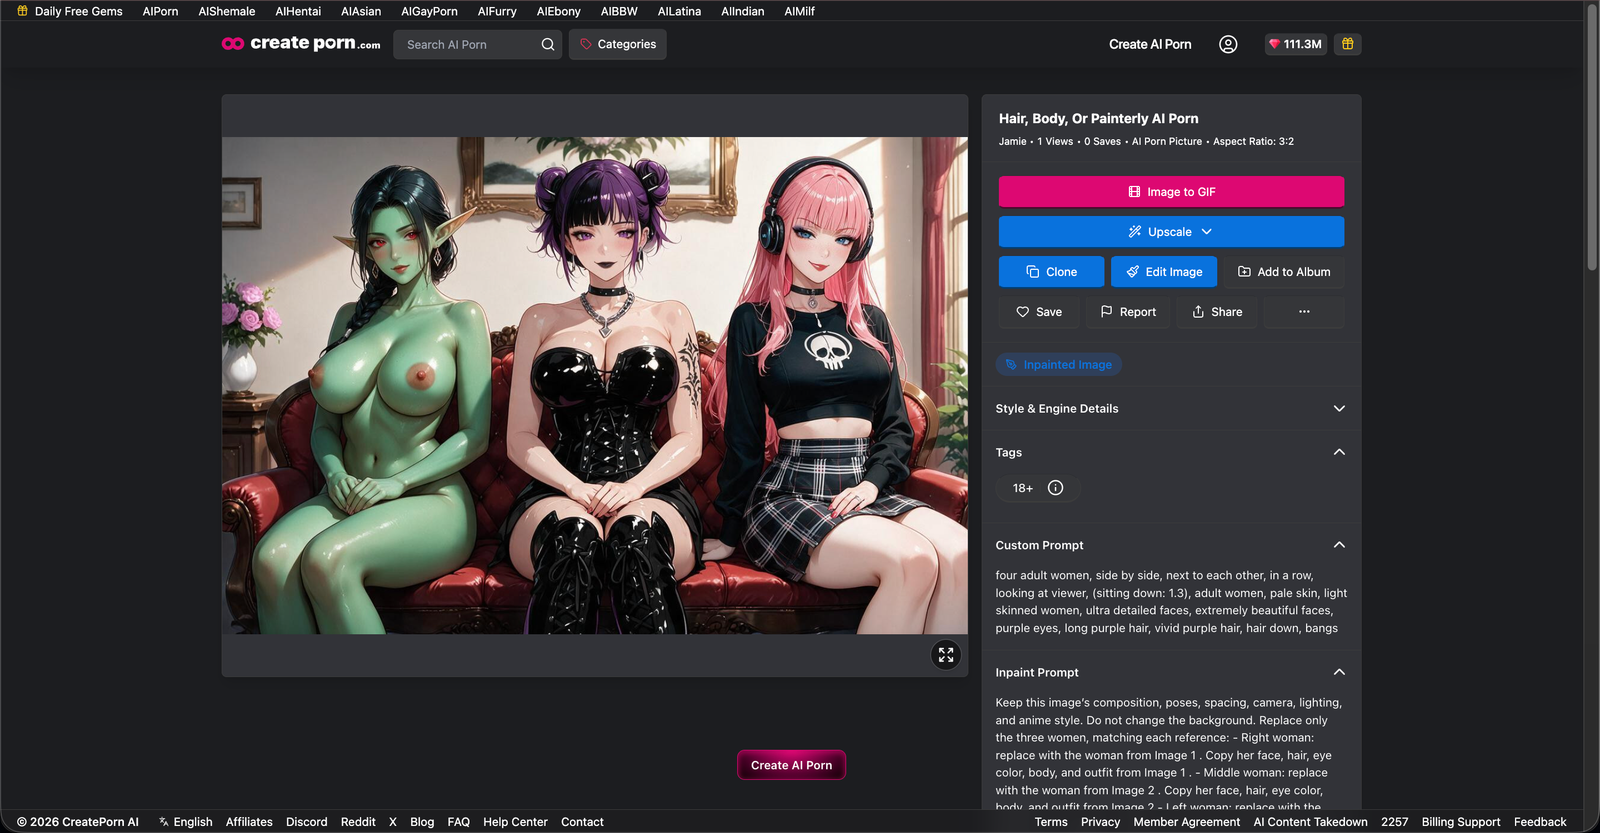
Reference to Image can also replace multiple Characters while preserving the rest of the image.
Example:
Keep this image's composition, poses, spacing, camera, lighting, background, and 2D anime style. Replace only the three adult women.
Right woman: use the woman from @Image 1. Copy her face, hair, eye color, body, and outfit.
Middle woman: use the woman from @Image 2. Copy her face, hair, eye color, body, and outfit.
Left woman: use the woman from @Image 3. Copy her face, hair, eye color, body, and outfit.
Keep clean lineart, cel shading, soft gradients, vibrant colors, glossy hair and eye highlights, detailed irises, anime proportions, and a polished 2D key-visual style. Keep the image 2D anime, not photorealistic, 3D, or painterly.
Advanced Reference Techniques
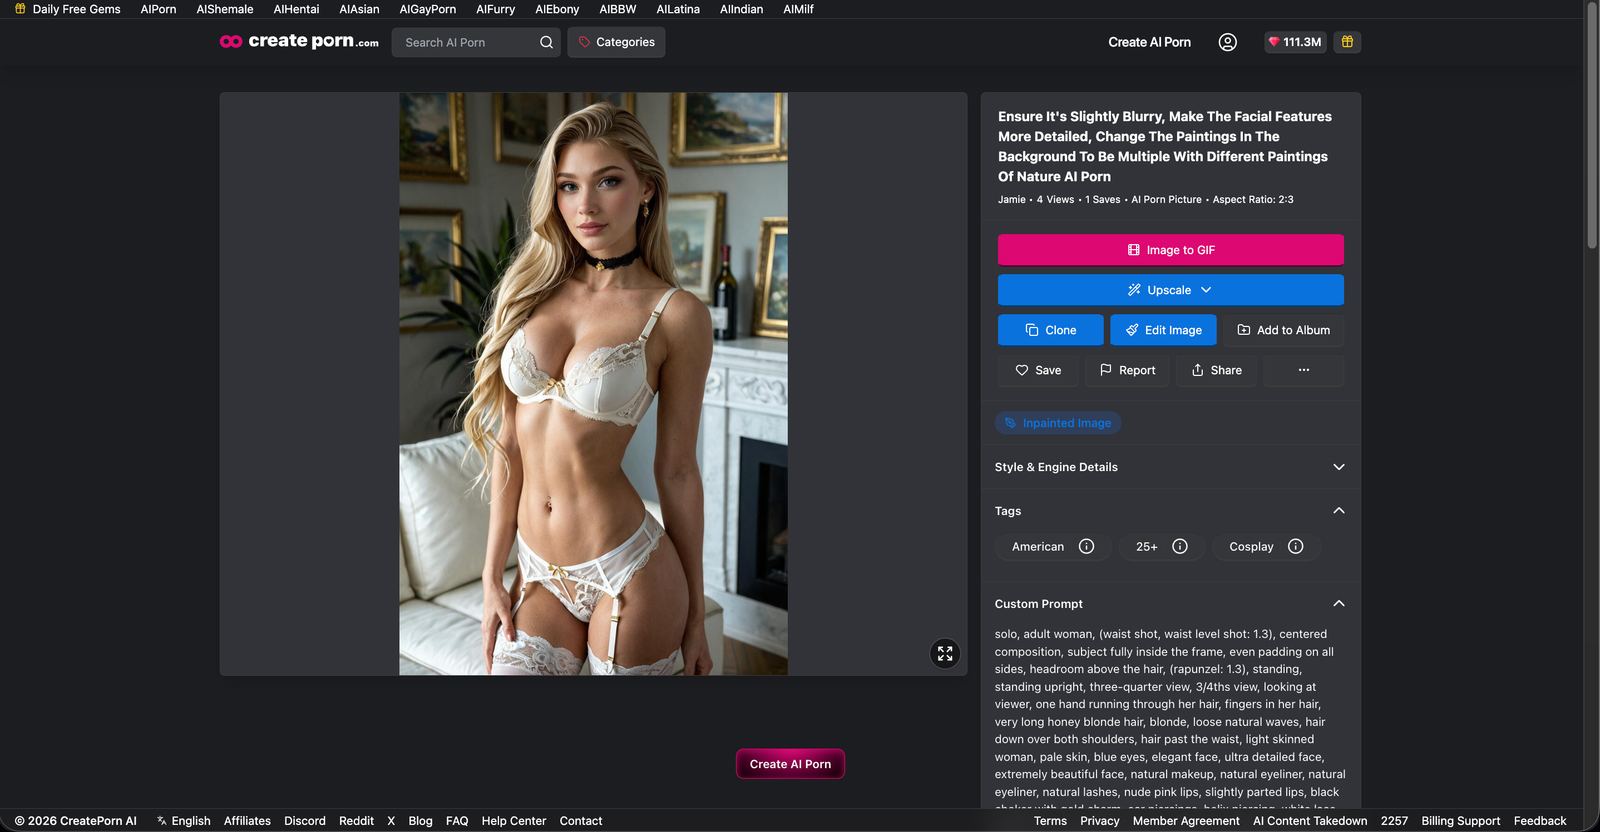
You can mix and match elements from different References to build the exact image you want.
Elements you can reference include:
- Pose
- Costume
- Hairstyle
- Hair color
- Face
- Character
- Prop
- Background
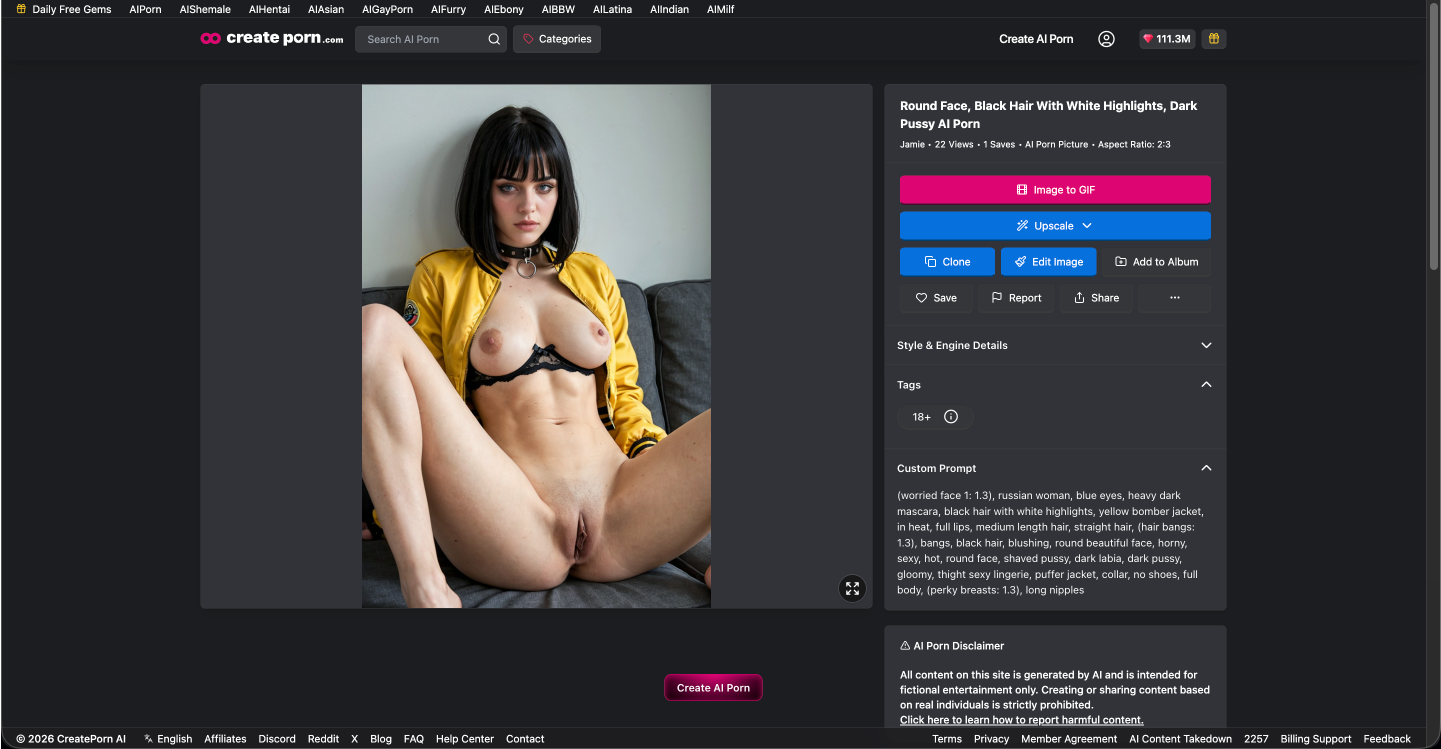
Example:
Keep the character and pose the same. Keep her face, body, pose, background, and style.
Change only her hair and clothes.
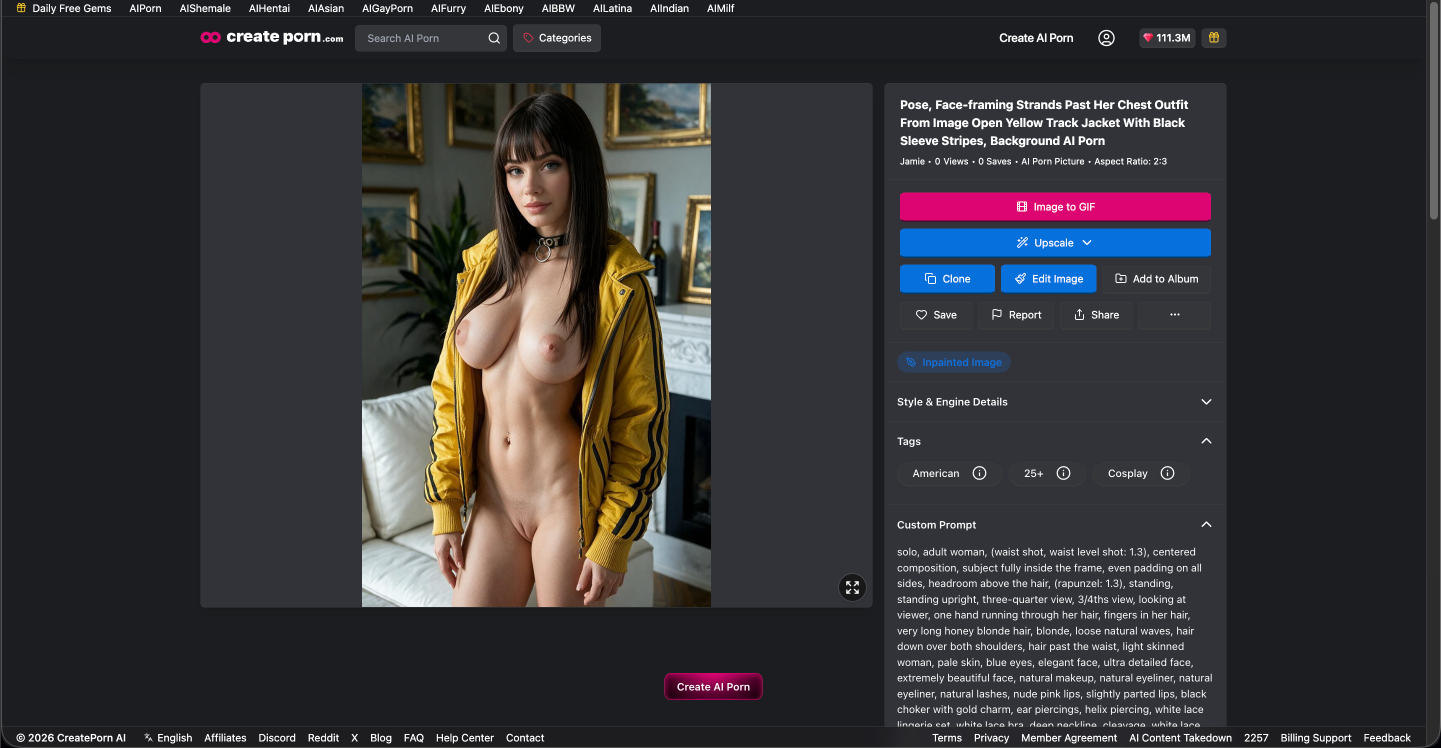
Hairstyle from @Image 1: long straight dark brown hair, blunt bangs, and face-framing strands past her chest.
Outfit from @Image 2: yellow track jacket with black sleeve stripes, black O-ring choker, and white platform heels with ankle straps.
Do not change the background. Do not change the style.
Keep Reference Roles Clear
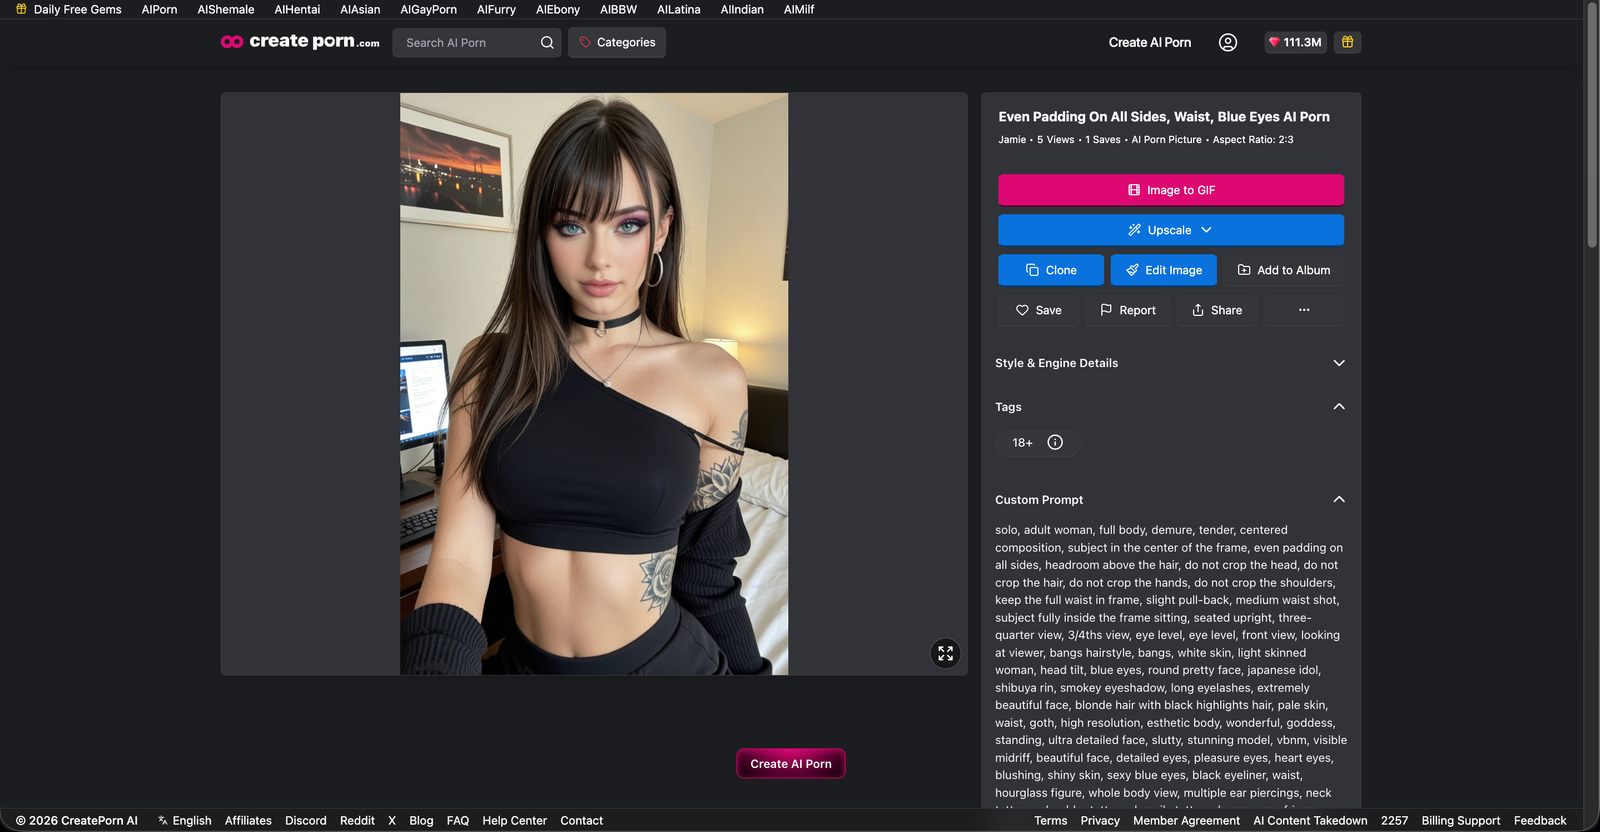
When using several References, tell Lucid exactly what each one controls.
Unclear:
Use these References.
Clear:
Keep the Character from @Source. Use the hairstyle from @Image 1, the clothing from @Image 2, and the bedroom from @Background Bedroom.
Clear assignments reduce the chance of elements being mixed together incorrectly.
Preserve What Should Not Change
For controlled edits, explicitly tell Lucid what must stay the same.
Useful instructions include:
- Keep the face unchanged.
- Keep the same Character.
- Preserve the original pose.
- Keep the same camera angle and framing.
- Do not change the Background.
- Keep the existing image style.
- Change only the clothing.
- Replace only the Character on the right.
The more important a detail is to preserve, the more clearly you should state it.
Do Not Over-Describe Strong References
If a Reference already clearly shows the element you want, focus on how it should be used instead of unnecessarily describing it again.
Instead of:
Give her long straight dark brown hair with blunt bangs, layered strands, glossy highlights...
Write:
Use the hairstyle from @Image 1.
Then spend the rest of the prompt describing the edit itself.
Tips
For better results:
- Clearly separate what should stay the same from what should change.
- Use Change only when you want to limit the edit.
- Assign a clear role to every Reference.
- Use @Source when referring to the original image.
- Preserve composition, camera, lighting, and style when they should remain unchanged.
- Start with a simple edit before combining several changes.
- Review the result before adding more edits.
- If several References are being mixed incorrectly, simplify the prompt and test again.
Need Help?
If the result does not match your instructions, simplify the edit and make the requested change more specific.
Common issues:
- Too much of the image changed: Clearly list what should remain unchanged and use Change only.
- The wrong Reference was used: Check the selected @Reference.
- Characters are mixed together: Clearly identify which Reference belongs to each Character.
- The Style changed: Tell Lucid to preserve the original Style.
- The Background changed unexpectedly: Explicitly say Do not change the Background.
- A Reference is missing from the @ menu: Add it through the Reference or Multi-Reference selector first.
- The result is close but incorrect: Refine the instructions and regenerate.
If the issue continues, contact Support with your Source image, selected References, prompt, and affected Creation.